December 1st, 2017 by Smile Harney
The following article will explain why some users failed to import mini-DV to Final Cut Pro for editing and how to successfully import the mini-DV to Final Cut Pro for editing.
Recently many users have failed to import some mini-DV tapes to Final Cut Pro for editing. But from Apple website, we know that Final Cut Pro supports to import tape-based DV, including DVCAM, DVCPRO and DVCPRO50, DVCPRO HD and HDV. We do not know the exact reason for the failure of importing mini-DV to Final Cut Pro, but many Final Cut Pro users give feedback that Final Cut Pro can not import mini-DV without timecode. And many camera users will not record at the end of a previous shot, which causes the mini-DV timecode reset to zero again. And just due to the camera users inappropriate operation, the mini-DV timecode jump back to zero, which will cause the difficulty or failure in importing the mini-DV without timecode to Final Cut Pro.
Of course, you can give priority to mini-DV timecode when recording the mini-DV. Or you can use a professional DV to Final Cut Pro converter to convert the DV which failed to be imported to Final Cut Pro to Final Cut Pro preferred MOV ProRes, a format accepted by Final Cut Pro without any limitation.
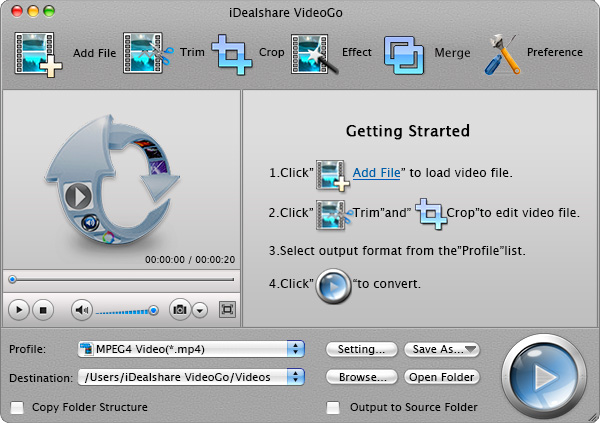
Free download the powerful DV to Final Cut Pro Video Converter - iDealshare VideoGo (for Mac, for Windows), install and launch it, the following interface will pop up.

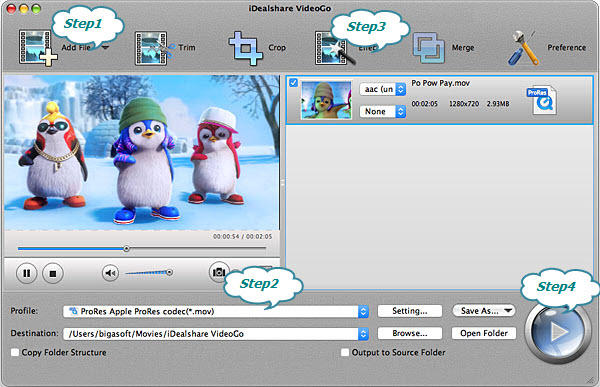
Click the "Add file" button to import your recorded mini-DV file to iDealshare VideoGo. Or drag and drop the mini-DV file to iDealshare VideoGo.

Select MOV ProRes as your output format by clicking "Profile" button >"HD Video" category.
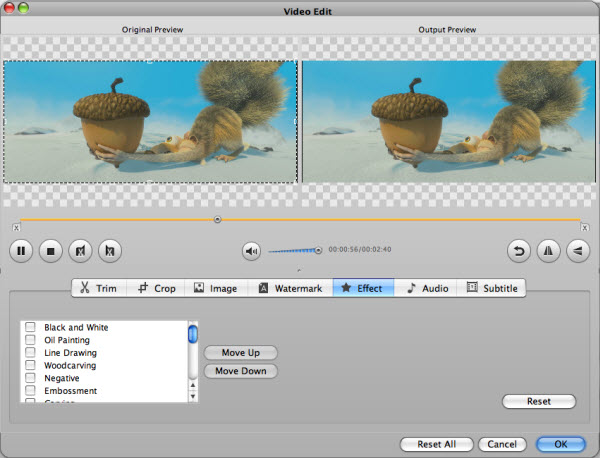
Click the "Effect" button and a Video Edit window will show up as below. Thus you can trim DV video, crop DV video, adjust DV video image, add watermark to DV video, effect and subtitle to your DV video.

Finish your DV to Final Cut Pro preferred video format conversion by finally clicking "Convert" button.